Mission 01: Omaha Beach
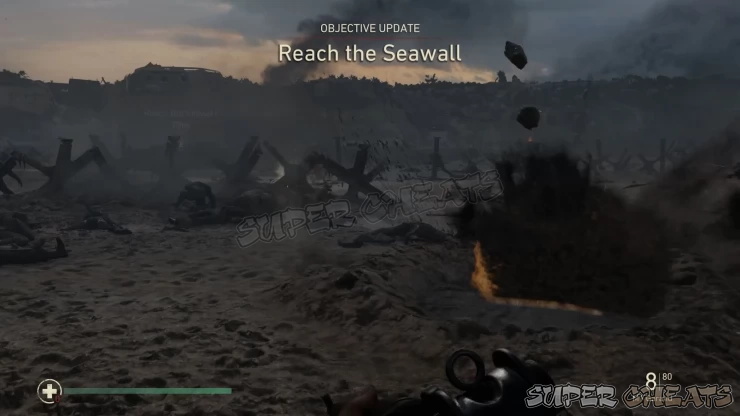
Reach the Seawall
Once the mission starts, you have to rush through the barrage of machine gun fire. This will easily rip you to shreds to stay behind cover and move only whenever the MG reloads. There are several objects where you can sit behind like the metal obstacles called Czech Hedgehogs and vehicles. Also, don’t forget to completely lay down in prone position to avoid getting hit by gunfire. After reaching the seawall, your character will assemble the bangalore torpedo to clear the wall. Follow the onscreen QTE prompt to blast away the portion of the seawall and start the allied charge towards the bunkers.
Ascend the Bluffs
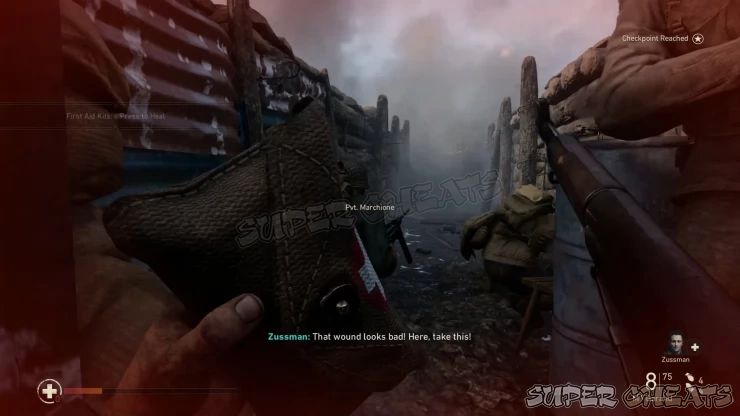
Take out the two nazis then rush to the trenches and take out the enemies who got the chance to take out allied soldiers. Your HP is probably critical at this point so regroup with your allies ahead to get a first aid kit from Zussman. Make sure to use it immediately before pushing. Keep an eye for first aid kits that can be picked up. You can only carry 4 kits at a time so if there’s a first aid kit available nearby and your health is not yet full, use one so you can pick it up. Continue along the trench, preferably while crouching. If you haven’t done it yet, make sure to swap your pistol with another rifle. It’s always a good idea to carry a long range weapon and a rapid-fire or close-range weapon for close-quarters combat. Around the first corner, there will be a handful of nazi soldiers so lob a grenade behind their sandbags to make them scatter while you continue pushing with your gun sights ready. There should be a couple of first aid kits you can collect in this immediate area.
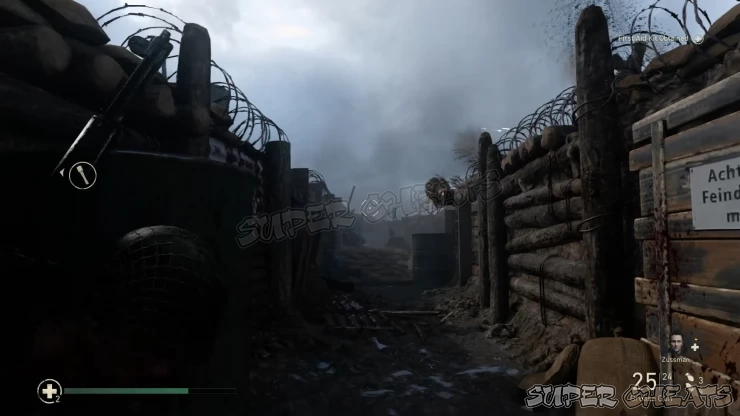
Continue clearing the path while keeping an eye out for enemies both in the trench and above it. Near the end of the trench, you’ll find the stairs to the left leading to the main road to the bunkers. Before taking the stairs, continue forth to reach an MG nest at the end of the trench with the first memento of the game, the Nazi Knife, stuck on the pillbox's opening. Loot it then take the stairs going to the uphill road. Take cover first and wait for the allied bombardment to hit on the bunker up the road. Once clear, run along the road and take out the three nazi soldiers that will intercept you.
Clear the Bunkers (1/5)
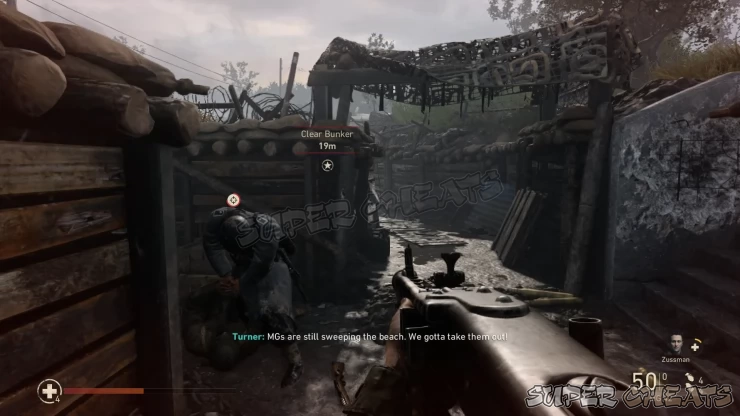
As you get near the first bunker, your objective will be updated. Follow your squad to the first bunker. Thrown grenades to flush the enemy soldiers outside then circle around while hugging the cover to the left. Make sure to throw a grenade inside the bunker before entering and make sure you’re already aiming as you sweep the bunker to avoid getting ambushed. Once you’re inside, sweep the bunker and take out the machine gunners.
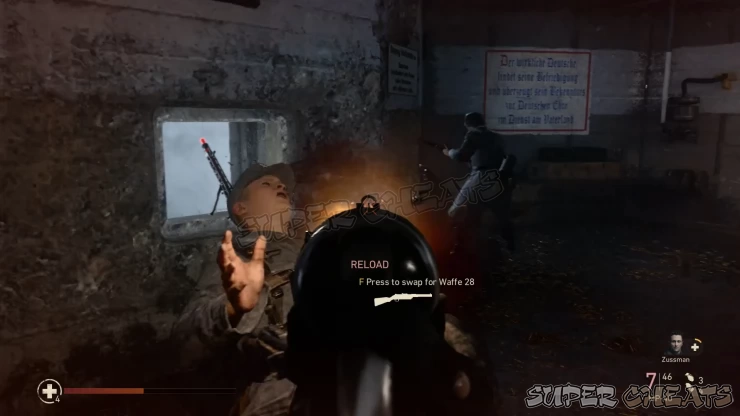
Once clear, change weapons if necessary. You can also use the MG42 and dismount it so you can use it until the ammo runs out. Machine guns like this aren’t counted towards your normal weapon loadout and therefore cannot be replenished by an ammo box. It will be dropped once you switch weapons. However, carrying these whenever you can will allow you to save ammo while having some extra firepower at until it runs dry. Use a first aid kit if you’re not in full health and your stock is full. There’s one near the MG nest if you need one.
Next, move to the next bunker. On the way to the second bunker, you’ll come across the first Heroic Action moment in the mission while following the trench. Shoot the nazi to save your ally then move on.
Clear the Bunkers (2/5)
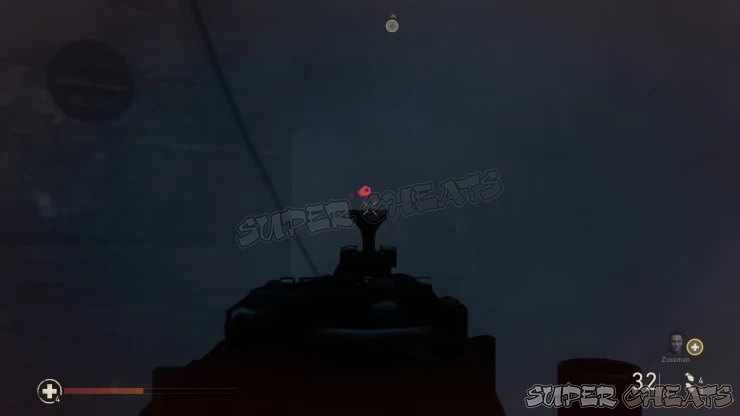
Enter the second bunker but this time don’t rush in yet since the enemies are anticipating your entry and will rip you to pieces. Instead, deploy at least two smoke grenades by the doorway and inside the room to temporarily blind them. Throw frag grenades as you enter the room (while crouching) so make sure to take out the MG gunners first. The red tip of their gun’s muzzles should give their positions after firing. Take out the remaining enemy soldiers inside the bunker to clear it and update the objective. Reload your grenades and switch out weapons if needed. You can dismount the MG42 again if you want. Head outside and proceed to the next bunker.
Clear the Bunkers (3/5)
You’ll encounter more enemies along the trenches. Take note of the closed bunker door to the right since one memento is found inside. It will open later once you cleared the third bunker. Take note of it for now then continue along the path then turn right to reach the entrance of the next bunker.
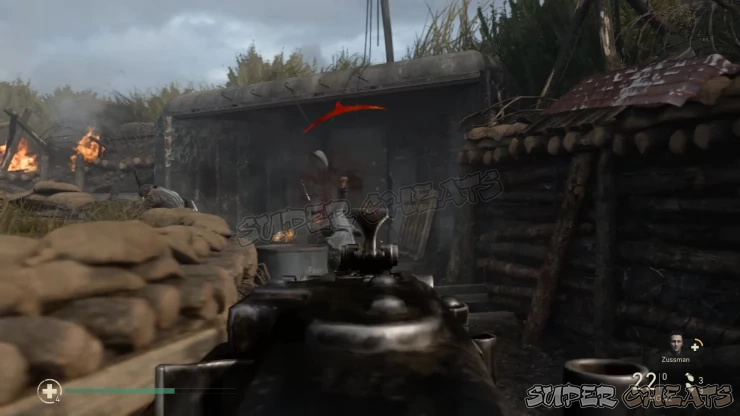
Your ally with the flamethrower will die inside so make sure to swap one of your guns with the flamethrower as it will make sweeping the bunker easier. You can set a smokescreen to mask your approach and with the flamethrower ready. Clear out the soldiers inside. The bunker’s pillbox has a pair of first aid kits and ammo crate to replenish your ammo (except the flamethrower) so use them as needed.
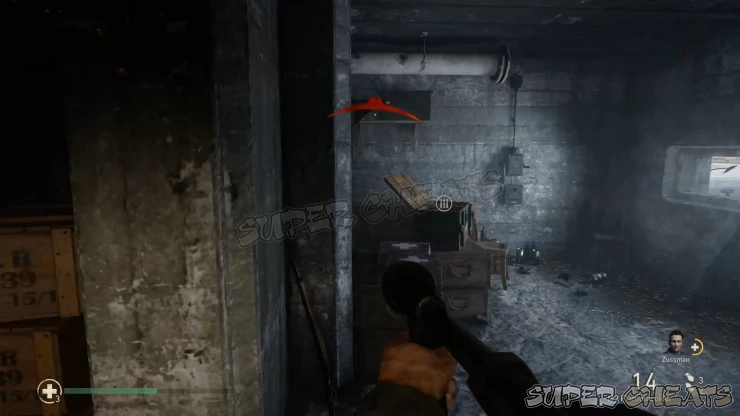
After killing the defenders inside the bunker, enemy reinforcements will arrive from where you came from. Heal up before engaging them. Like before, lobbing a smoke grenade by the windows will help you getting the upper hand, especially when you have the flamethrower ready. Take out the reinforcements to update the objective. Heal up, swap weapons, and replenish your ammo as necessary. Leave the bunker and head to the newly opened door ahead. Before going there, make sure to go back to the bunker door that’s previously closed. Pick up the Compass memento inside.
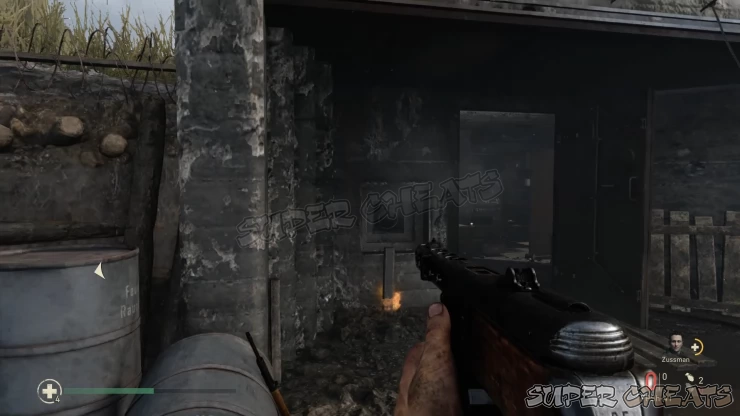
Clear the Bunkers (4/5)
Regroup with your teammates and head inside the next bunker. Along the way, you’ll encounter another heroic moment. Make sure to kill the nazi with a melee attack or a well-placed shot in one of his limbs to avoid killing your ally accidentally.
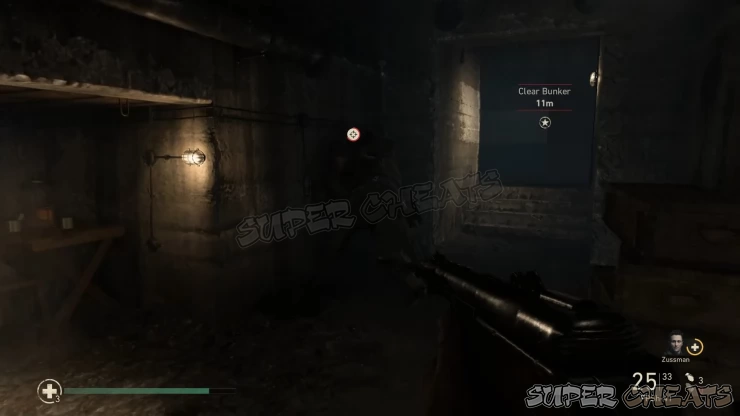
Continue deeper in the bunker to find the mortar team. Lob a grenade in the middle or shoot the gas canister to take out most of the mortar team then sweep the remaining enemies inside the room. Once done, prepare to move out and open the door to push to the final bunker.
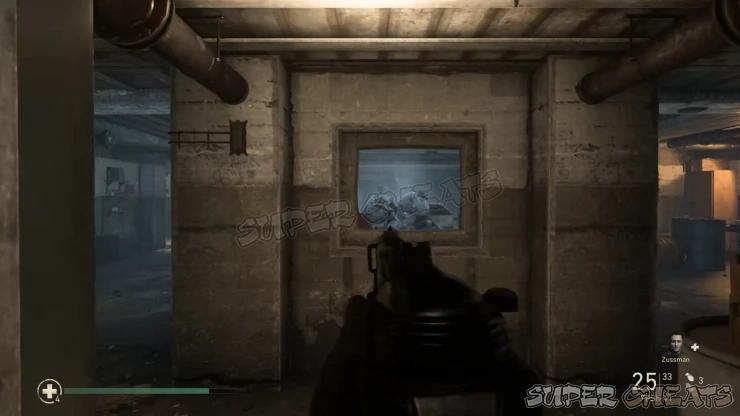
Clear the Bunkers (5/5)
As soon as you get out, you’ll be facing immediate enemy resistance in the entrance of the last bunker. Keep an eye out of the riflemen on the roof. Make sure to snipe them yourself before dealing with the enemies behind cover. Once clear, continue inside the bunker to trigger a QTE sequence. Do this correctly to take out the nazi soldier and rescue Zussman. However, your struggle is just starting.
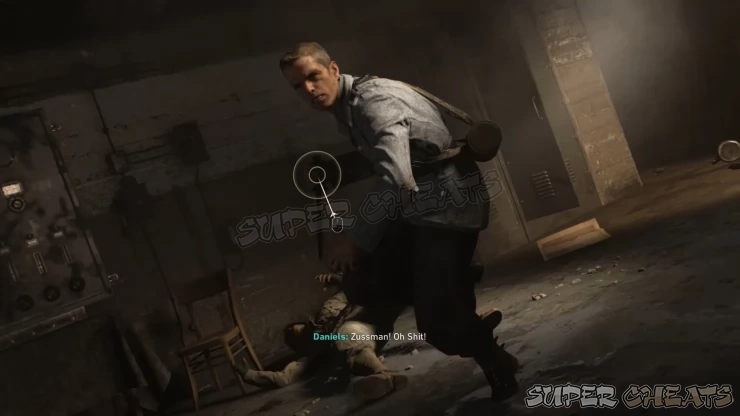
In this sequence, you’ll have to pull Zussman to the nearby CCP. Keep moving to pull him then carefully land your shots with your pistol for any enemies that you encounter. Make sure to make your shots count since missing and reloading exposes you to even more danger. Don’t hesitate to heal up as well since you’ll still be able to use your first aid kit even while pulling Zussman. The path you need to take will be straightforward and what matters is that you kill the enemies quickly and accurately. After reaching the CCP, the sequence will be over and you’ll be off to your next objective sans your partner.
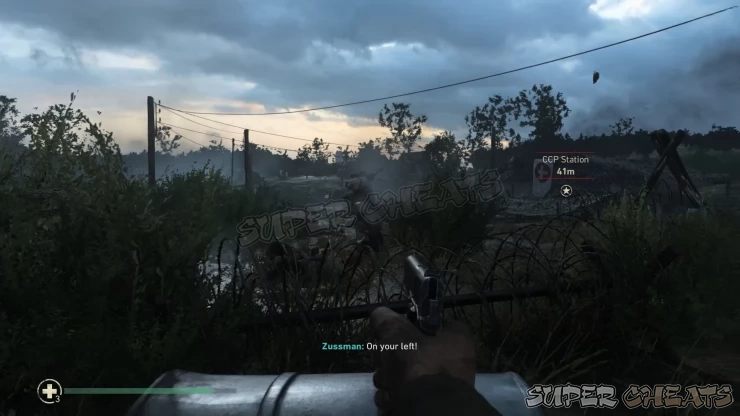
Destroy the Artillery
You’ll be going with Turner this time. Request ammo from him then follow him to the next objective. The artillery cannon is located in the barnyard. It will be easier to flank the enemies from the right side of the farm house since there’s an MG nest on the second floor. If you approach to the right, you’ll face lesser resistance and be able to clear the MG nest to your advantage, trapping the artillery crew and their comrades in the allied crossfire.
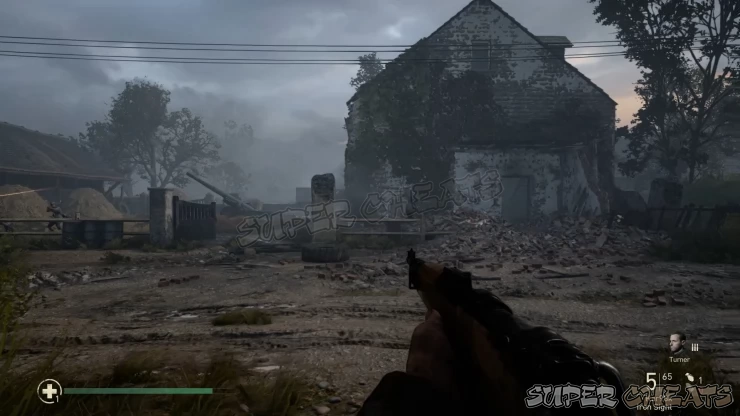
Head to the second floor and clear out the MG crew. Pick off the remaining enemies in the area and more enemies will start pouring in from the field. Man the MG overlooking the enemies’ approach then start raining hell on them. Don’t hesitate to disengage to heal up. It will be better not to dismount the MG yet since the large group of enemies will require more stable fire and more ammo. Continue defending this position until allied armor arrives and send the enemies on retreat.
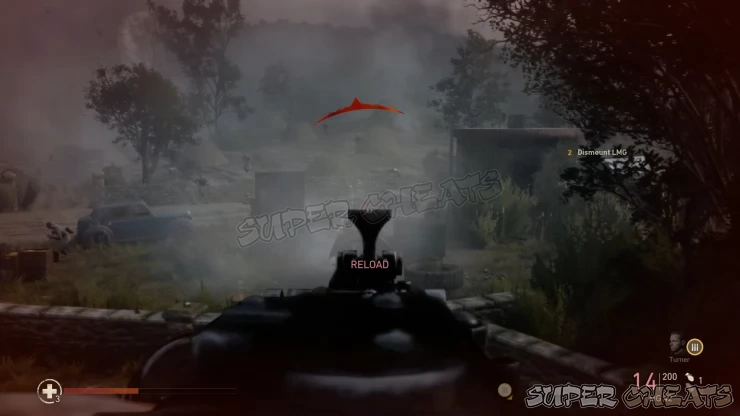
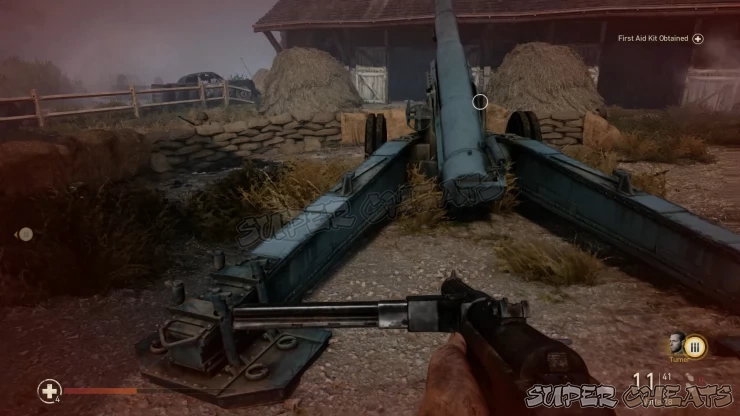
Finally, you can now go down and destroy the artillery cannon with thermite. Before doing so, make sure to get the last memento (Pathfinder Patch) in this mission inside the barn, in the dark corner to the right. Interact with the cannon to destroy it. Keep a safe distance away from the explosion to complete the objective. Finally rally with your platoon to complete the mission.
Video Walkthrough

Anything missing from this guide?
ASK A QUESTION for Call of Duty: WWII
 Join us on Discord
