P1: Back to School
During the transition to Part One you are shown pop-ups that clue you in on some of the criteria that is used to judge best success - like identifying and arresting suspects with open warrants, and finding the evidence that is necessary to complete Case Files - which can result in unlocking special weapons.
If you take anything away from those hints it should be that arrests - rather than shootings - are worth more to you in terms of XP and advancement. Just saying.
During the briefing from Captain Dawes you discover that you have been assigned a new female partner - a new partner who is not at all pleased to be paired up with you! After getting your basic marching orders you head out - in the passenger seat - with your new pard, you are to be on the lookout for a suspect with wants and warrants named Lawrence Kent.
As you cruise along pay attention to the conversation, as your new partner tips you on several important details about the case and how you should proceed. She also makes an observation about you that suggests you have been the subject of past conversations.
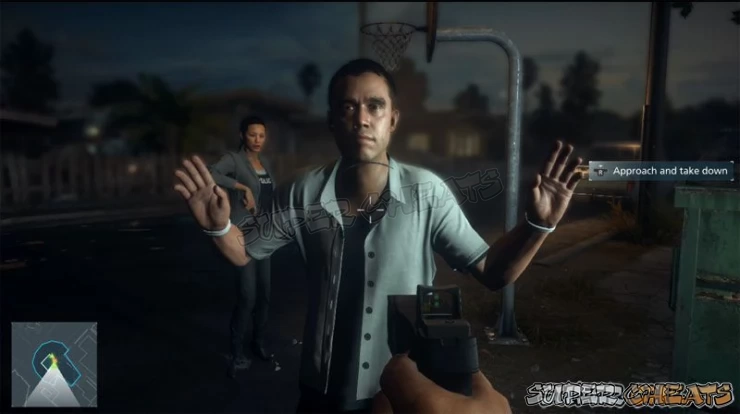
The Projects
When you arrive at the entrance to the Projects you need to leave the car and proceed on foot - you are looking for a snitch named Brix - and as you make your way to your destination, following your partner's lead, check out how realistic this neighborhood looks!
You are prompted with instructions now on how to use your badge - which is to tap LB to flash it in order to freeze a suspect. The pop-up also warns you that failing to keep the suspect covered with your weapon will cause their Alert Meter to rise - which translates to cause them to get brave or do something very stupid.
You take down Brix to learn where Tap is - and as you round the corner you spot Tap's crew up ahead. This is when you get the pop-up that tells you about suspect awareness.
Basically you need to watch for the Suspects Alert Meter - and the Vision Cones on the minimap that can tell you where you can be and not be noticed.
As you make your way along the path behind the houses and through the yards you learn how to vault (A button) and crouch (B button), and sprint (push Left Joystick).
When you arrive at the gate crouch behind the wall to listen to the conversation, and then cross the alley to the next stop point where you learn how to throw something to distract a suspect (Back button).
You then make your way past the potential spotter to the courtyard, and get a pop-up for Distract-Separate - Takedown -- which is accomplished by tossing a shell casing to draw one of the perp's attention away in one direction then quietly approaching the other target and taking them down.
After you distract them you quietly approach them from behind and take them down with blows to the back of the head. Not nice - certainly not legal - but very effective!
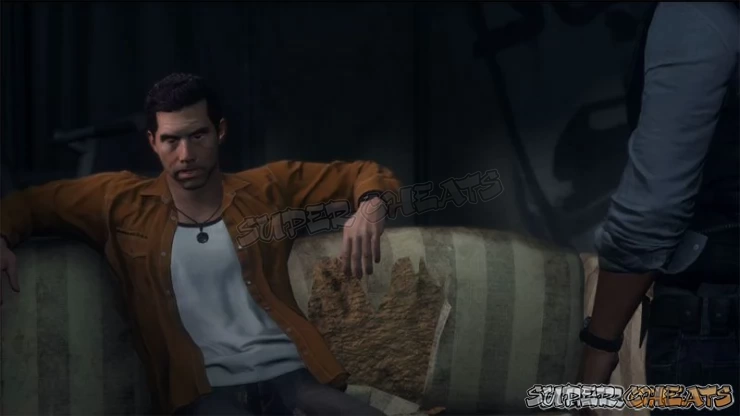
Tap's Couch
Now that you have Tap cornered you can start interrogating him as you try to find out where Tyson is?
After applying significant pressure in the form of the threat of arrest for possession - and showing off your knowledge of his MO, you get Tap to help birddog Tyson - which means he gets wired up and sent in to locate the target.
The Scanner
With your Snitch wired up and on the way in you are prompted to use your Scanner - a combination listening and spotting device (it has a powerful zoom lens). The Scanner is also connected to every local and federal database, so you can focus it on a suspect's face and analyze it to pull any information that is contained in those databases.
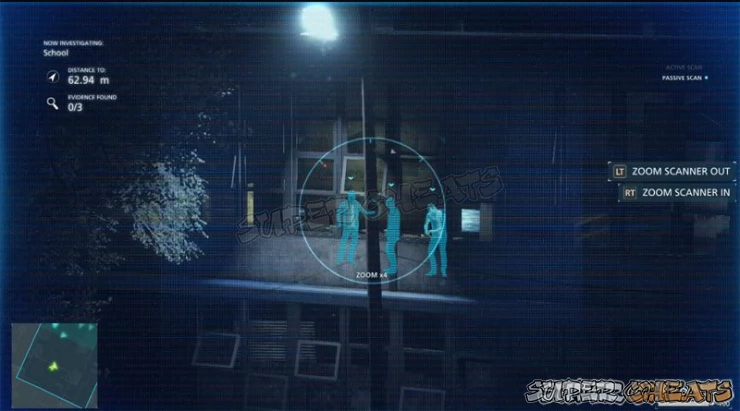
This is what you call high-tech cop kit!
As you are watching a new group of thugs shows up just after Tap makes contact - gunfire erupts and you have to commit - so try to scan as many of the enemy as you can in order to be able to better track them and then proceed down the stairs and into the ally!
At this point with several perps ahead of you a pop-up explaining how to Freeze Multiple Targets pops up -- you hit LB to flash your badge which will freeze up to three enemies -- you need to switch your aim between them in order to keep their meters from filling which will cause them to resist. The idea is to quickly take them down.
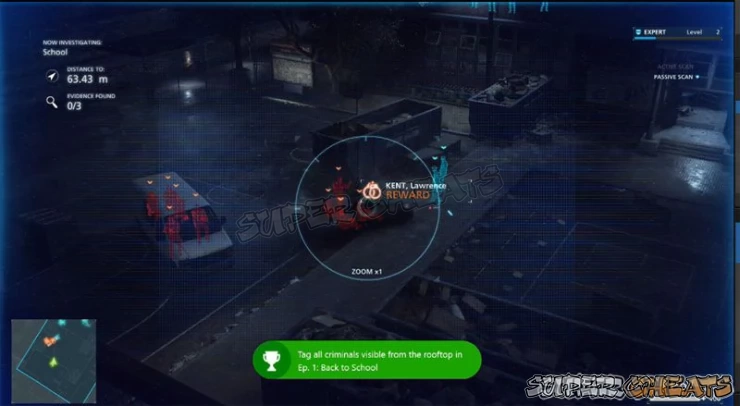
At the exit there is another perp you are prompted to scan to check for warrants. When you encounter perps with warrants an arrest will gain you far more XP than shooting them would. As luck would have it the bloke at the exit is the guy you were asked to be on the lookout for - so hey, bonus!
After the two car loads of thugs arrive, be sure that you Scan every single target and you will unlock the Achievement Motley Crew (25g) Tag all criminals visible from the rooftop in Ep. 1: Back to School.
In the process you will also Scan - actively - the Warrant Suspect.
As you make your way into the School after taking out the enemy outside you can switch to non-lethal methods like the stun gun and, once you clear the building, you can collect the Tactical Box on the table for better kit.
The better you do in terms of actually taking the suspects in alive will reward you with a higher Expert Level, which in turn gets you better kit as your reward...
The Office
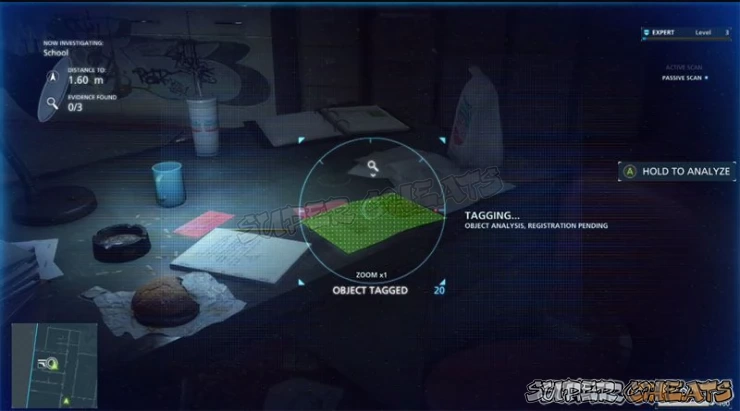
After you hit the Tactical Box and maybe select a new Primary Weapon (See Weapons Section for details on Weapons) you quip your Scanner and start looking at the evidence.
Case File
Case Files will be unlocked when new evidence is analyzed. Your scanner will buzz when evidence is nearby so you should analyze all that you can. There is a Case File on the desk and, when you tap down on the D-Pad you get to see the details.
The Hot Shot File - Box of Hot Shots. This is a new drug in the form of liquid cocaine. Among the evidence you find is a Ledger and Money. Hit the 'X' Button to play the audio clip comment.
On the sink there are Photos to scan that turn out to be surveillance files on your former partner, Detective Carl Stoddard!
In the next room you find the box of Hot Shots and in the room past that a video chat setup and laptop that, when you open it up, you get to chat with Tyson. He is not happy!
Finding all of this stuff rewards you in several ways. First, you unlock the Achievement Keep Digging, Detective (20g) Complete any case file in single-player.
You also unlock more weapons for the higher Tech Level - including the .38 Snub and .357 RS revolvers and the 37 Stakeout Shotgun.
Just to remind you, you can pick up the Found Weapons Glock 17 and 870P Magnum Shotgun here so you should.
On your way out there is an opportunity for you to take down a half-dozen suspects and pick up the Glock and the Pump Shotgun. After that you run to the car for a short ride to the traced location, then take the door as you did in the Prologue.
You almost get to kick in the door but now, Tyson opens it and as you start chatting with him a thug kicks in the door and shoots your partner, basically trapping you on the spot as you have to maintain pressure on her wound to keep her alive.
The whole time you are doing that you need to shoot the thugs that are coming through the windows and door - with a revolver for some reason... Not just any revolver either, but one that shoots .410 Shotgun Shells! Sweet!
Hold off the bad guys for long enough and the good guys roll in to the rescue. Your partner gets medical attention and you get the chance to be cool about it all.
That wraps up this episode and case very nicely thank you, and leads to the summary stage that happens between episodes.
You will have unlocked the Achievement Pressure Applied (20g) Complete Ep. 1: Back to School. You should also have unlocked You Tazed Him, Bro! (20g) Stun 5 criminals with the T62 CEW in single-player.
You can re-examine the evidence and hit 'X' to play the Conclusion scene which will sum-up the evidence and its value to you.
You are also shown your next set of objectives:
Suspects with Warrants: ROSADO, Javier and VOLKER, Gary.
Case Files: The Elmore Hotel Investigation and Hot Shot Supply Chain.
You may also access the Tactical Gear Menu from here - you should have the following unlocked if you followed the guide above:
Pistols: 92FS / P226 / CZ-75 / G17
Heavy Pistols: M1911A1
Revolvers: .38 Snub / .357 RS
Shotguns: 37 Stakeout / 870P Magnum
That is actually a pretty good outcome all things considered...
When you continue you get the CS that plays between episodes - and you find that your partner is back on duty (against doctor's advice) but still, cool... The Captain explains what has been happening and what IS happening, including a tip from an informant.
He wants you guys to pick the informant up so that he can be debriefed.
Anything missing from this guide?
ASK A QUESTION for Battlefield Hardline
 Join us on Discord
